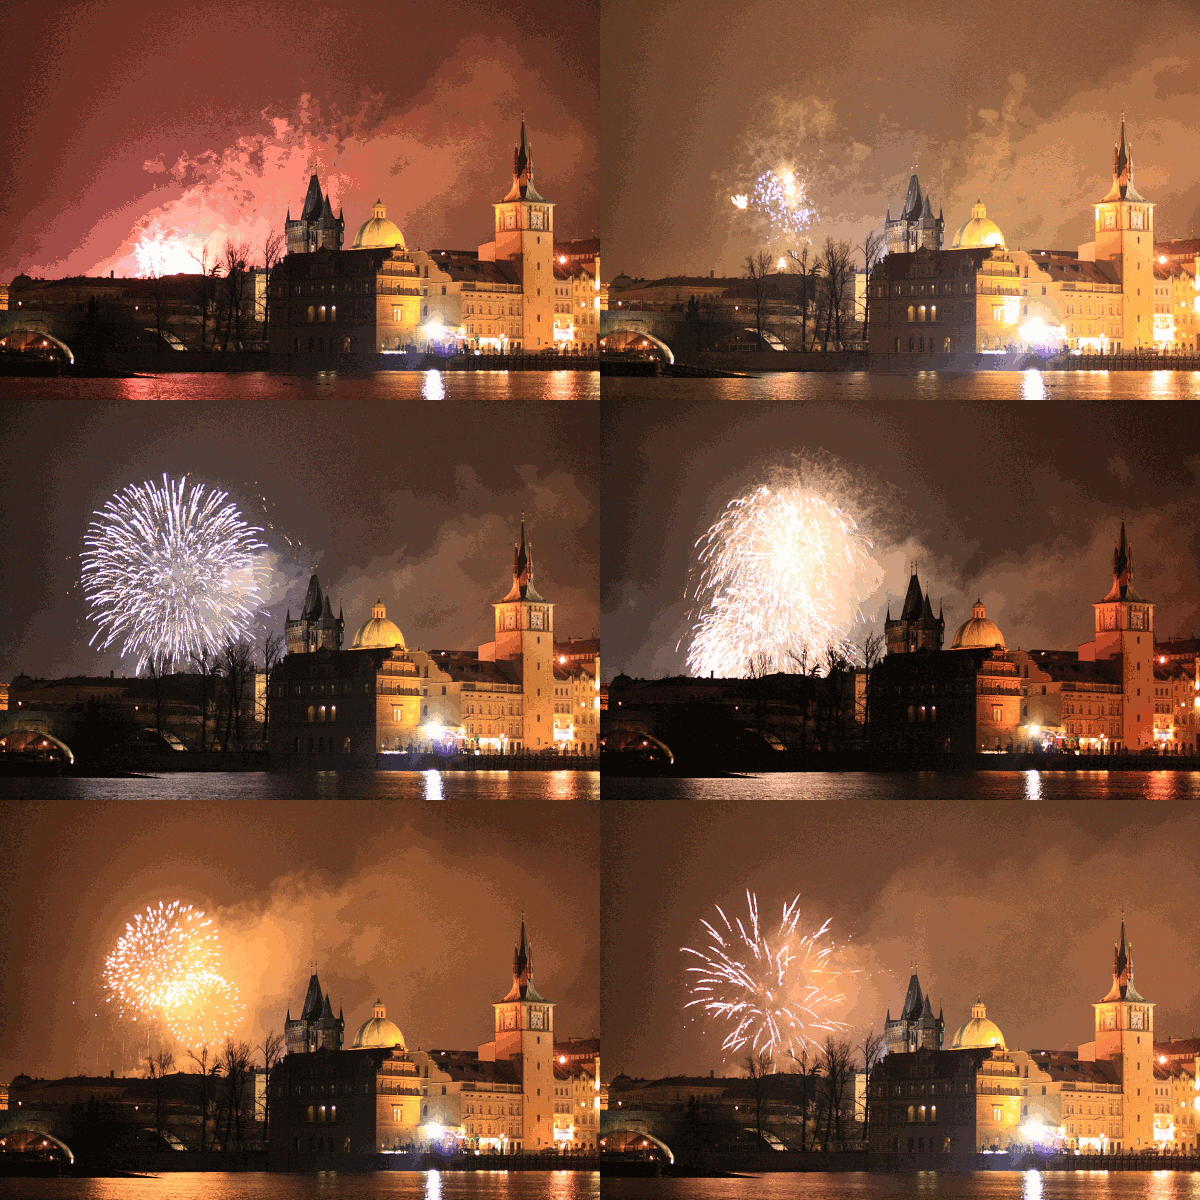
In order to be able to calculate a HDRI (german link) you need three images. One is the original with ordinary exposure. The other two are gained by adjusting your camera in a manner so that the following pictures, taken preferably in a sequence, are over- and/or underexposed. The camera should be in a fixed position. A tripod should do the job.
With my camera I just need to set the drive mode to continuous shooting and in the menu I need to adjust AEB (Auto Exposure Bracketing (german link) ) in a range between: –2…-1…0…+1…+2.
NB: To get the best results you want to manually adjust the ISO to 100.
When you are taking your pictures do not forget to study the subject thoroughly and try to remember everything that may be relevant when it comes to tone mapping your HDRI. With the Národní divadlo in Prague as subject you might be lucky and you can find more information and pictures on the wikimedia commons in the Category:Národní divadlo (Prague) by night or in Category:Národní divadlo. With this information you can estimate what effect the lightning conditions, the weather, etc. have or had on your resulting picture.
Pictures from RAW
Discovering that some colours, in this case especially the red, tend to be too saturated in pictures taken at night or taken in the dark I turned down the saturation of colours by 5 to 10 %. With the current subject I noticed that if I do not change the saturation artefacts will appear later on when I calculate the HDRI.
Also I use the software of Canon called „Digital Photo Professional“ (version 3.4.0.0) to change white balance and the image type.
Generally it is a good idea to save the RAW images when making pictures. It leaves you a lot of possibilities to change the camera settings of the taken image afterwards at the comfort of your home with the larger screen of your home computer.
The only disadvantages are the space the RAW takes on your memory card and lack of standardisation of this format. The first problem can easily be tackled by buying cards with more memory or just by acquiring more cards. The latter is more problematic because it forces you to to use proprietary software made by the camera manufacturer (which could be good; but that in turn mostly forces you to use a certain operating system for which the software has been written).
Calculating the HDRI
To calculate the HDRI I use a programme called Qtpfsgui (version 1.9.3). It is open source and available for Windows, Mac OS X and Linux.
Basically you select the three images and click yourself through the dialogues. To be honest when creating the HDRI I have not have had the nerve to fiddle about trying to change the defaults. The programme also says at one stage that you should not really change the default unless you are sure that the other settings are better. So I suppose you get the best results not changing a thing.
Tone mapping
This is done after we calculated the HDRI and saved it. The HDRI looks quite strange but that is why we need the tone mapping. I use operator reinhard02 in order to get a very realistic looking image but with a bit of warmth the artificial lightning produces as in this case. I try not to overdo it so that the building still looks like the building and not like a house in the red light district.
The tone mapping sounds rather simple but you have to get a feeling for what you are doing first. Best thing is to take one or two different test subjecst and try different settings. It is possible to compare several different settings in a small preview with Qtpfsgui.
Since the HDRI allows us to change the mapping quite freely you can play around with the different operators.


